![]()
Volt is pre-configured with WooCommerce to enable instant bank transfer for customers and provide them with additional payment options which will increase conversions for you and in turn overall sales volumes. Volt plugin supports shops operating on the newest WooCommerce HIPOS system. Follow the steps to configure the Volt Embedded Checkout in your store.
Version Compatibility
Requires at least version: 5.1
Tested up to: 6.4.3
Requires PHP: 7.0
Stable tag: 1.7
If you are using another version of WooCommerce contact our team at support@volt.io.
Enable pretty permalinks in Wordpress
Ensure that you enable pretty permalinks in your WordPress installation. Otherwise callbacks from Volt back to your store won’t work and orders will not be updated with the correct order status/information.
Anchor links and URI fragments
Your site must be able to handle anchor links (or URI fragments) correctly. This implies that when an anchor link is activated, the browser should avoid performing a complete page reload. To test this functionality, navigate to one of your website pages, add ‘/#testhash’ to the URL in the browser address bar, and press Enter. As a result, the page should not undergo a full reload.
Download and install the plugin
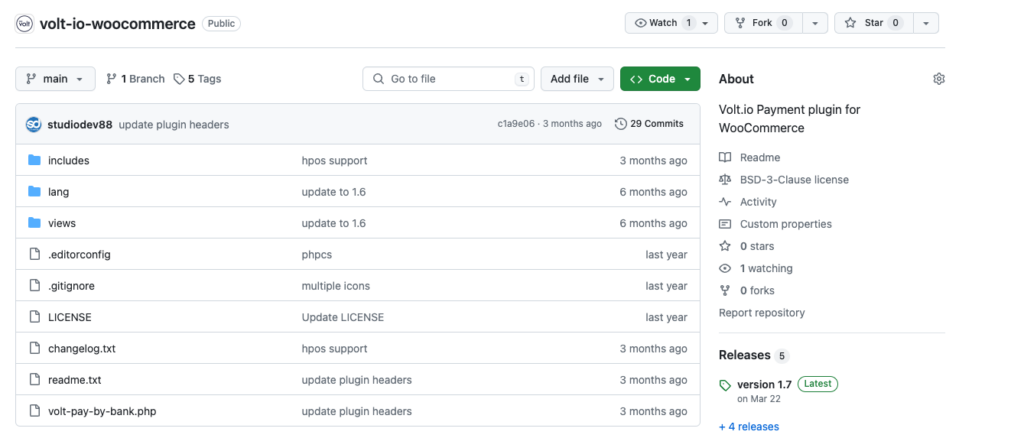
- Download the latest plugin component from Github Volt.io WooCommerce.
- Go to WordPress Admin > Plugins > Add New and Upload Plugin.
- Upload the package file you have just downloaded.
- Install the plugin with Install Now and Activate Plugin.
To access the plugin configuration page go to WooCommerce > Settings > Payments > Volt Pay by Bank.
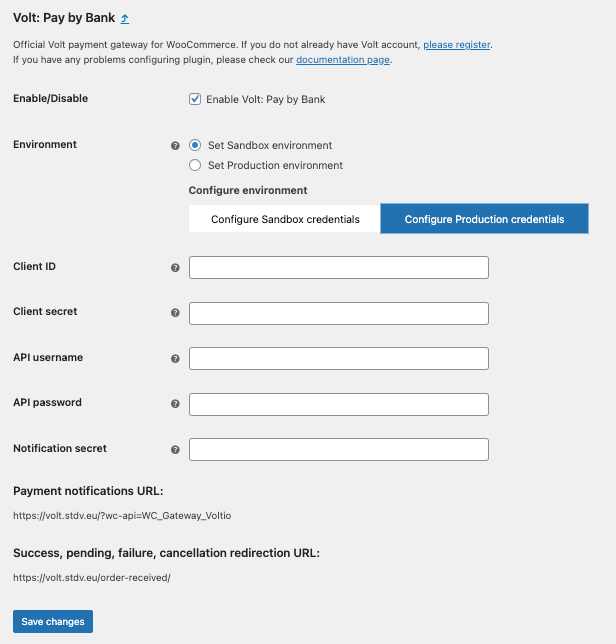
Choose the environment
You need to select which environment you will configure. Please note that you can only have one environment: Sandbox (for testing) or Production (for live traffic) configured at a time. The configuration steps for both environments are the same. The difference is the checkbox on the WooCommerce configuration page and the toggle in the top right corner in Fuzebox.


Correct Environment
Always make sure you are configuring in the same environment in Fuzebox and on WooCommerce.
Generate the access credentials
Generate the API username and password (NOT your username and password for Fuzebox)
- Login to Fuzebox.
- Generate Customer Credentials. You can find the Credentials section in the Configuration > Customers tab in Fuzebox.
- Copy your Customer Username and paste it into the API Username field on WooCommerce.
- Copy your Password safely and paste it into the API Password field on WooCommerce.
Generate the Client id and Client Secret
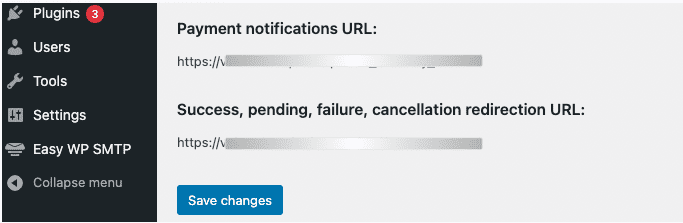
- In Fuzebox register an application to receive your Client id and Client Secret. During this step, enter the “Success, pending, failure, cancellation, redirection URL” from the WooCommerce configuration page in all Fuzebox URL fields.
- Copy your Client ID from Fuzebox and paste it into the Client ID field on WooCommerce.
- Copy your Client Secret from Fuzebox and paste it into the Client Secret field on WooCommerce.
Setup notifications
- Go back to Fuzebox and access the Payment Notifications section in Configuration > Applications > (your application) tab in Fuzebox.
- Configure the settings as explained in the guide using the “Payment notifications URL” copied from WooCommerce.
Status mapping
The mapping of Volt payment statuses to WooCommerce order statuses is pre-configured for you:
- Volt
RECEIVEDpayment is mapped to the WooCommerce “Processing” order state - Volt
COMPLETEDpayment is mapped to the WooCommerce “On Hold” order state - Volt
FAILEDpayment is mapped to the WooCommerce “Failed” order state - Volt
CANCELLEDpayment is mapped to the WooCommerce “Failed” order state
Enable
- Save the configuration.
- Make sure that the “Enable Volt: Pay by Bank” field is ticked.
- Make sure that Volt plugin is enabled in the Payment Methods management list in WooCommerce settings.
